Maintain a Jekyll site with WebStorm
Install the Markdown plugin
WebStorm does not ship with Markdown support out of the box, but you can easily install the Markdown plugin. While Jekyll supports various flavors of markdown (I'm using Kramdown), they all share some common syntax, so you're good to go with the general Markdown plugin.
- Open up Preferences (
cmd+,on OSX) - Type 'plugin' to go directly to the Plugin tab
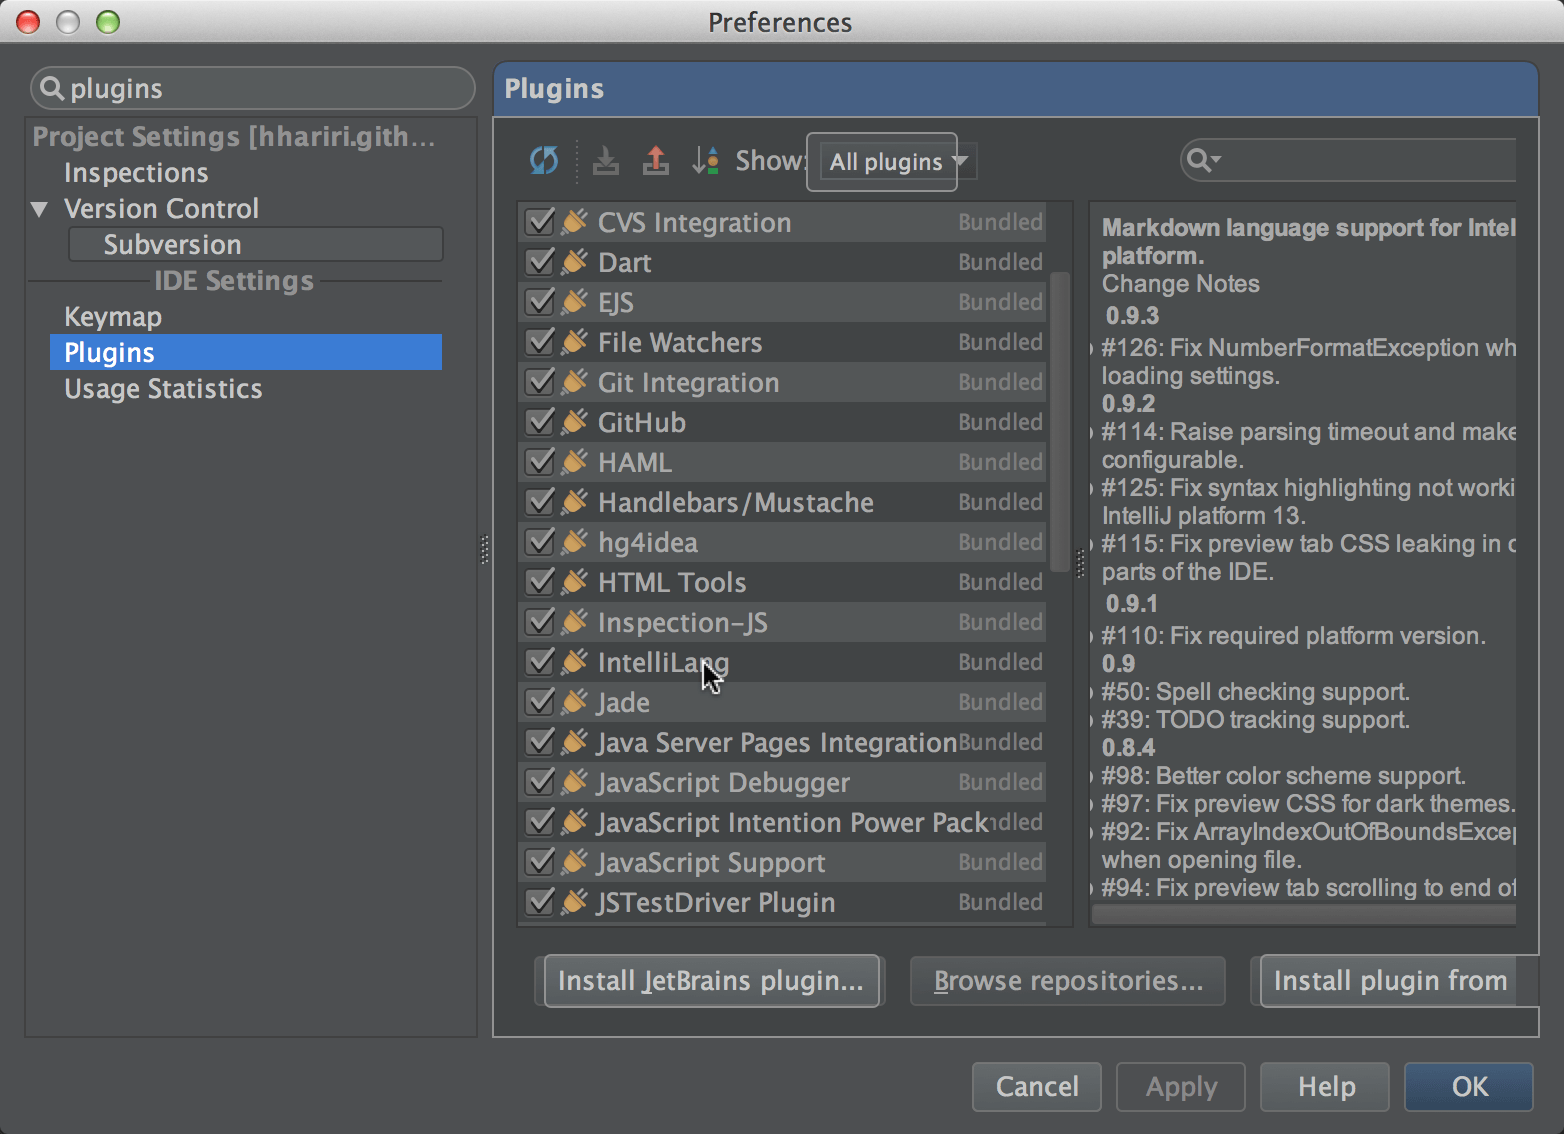
- Click on 'Browse Repositories'
- Search for 'Markdown'
- Right-click to install
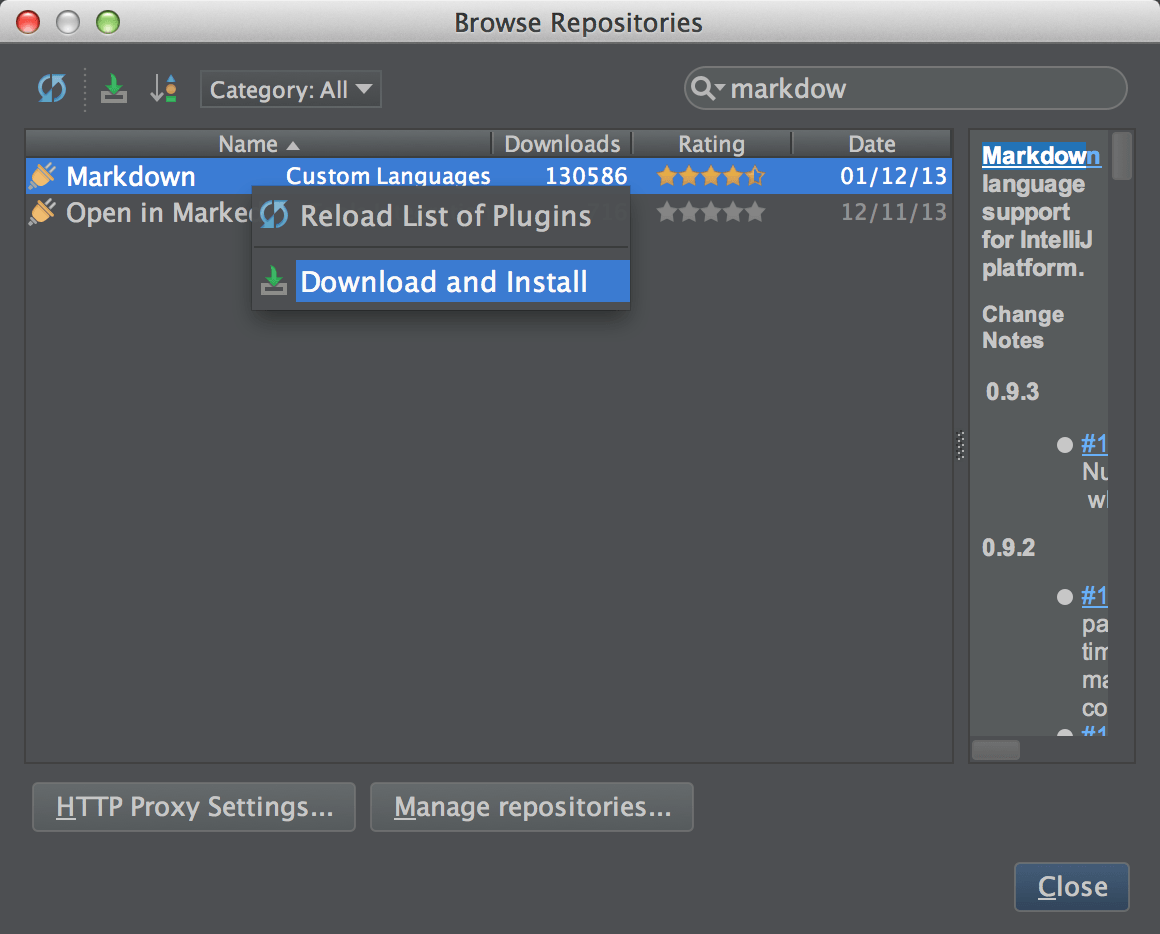
Alternatively, you could also create a file with extension .md and WebStorm will automatically detect there is a plugin available and prompt you to download and install it. 
Find posts and other files efficiently
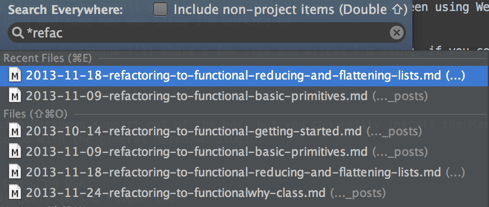
WebStorm allows you to navigate to files very quickly. If you're using the latest version (7.0.3), just double-click the Shift key to go to Search Everywhere. Alternatively choose the shortcut associated with Go To File (Cmd+Shift+O on OSX)
Remember, you can even use wildcards.
Move files around properly
Often you might want to move files around on your site. For instance you might have a folder called drafts where you keep draft posts. When it's time to move them, you can of course drag and drop from one folder to another, but it's often cumbersome. Instead use the Move refactoring (F6 on OSX)

Create new post and other types of files fast
WebStorm provides a very smart file template system that allows for creation of files. In fact, when you invoke the New command in WebStorm (Cmd+N) you're using templates to create new files.
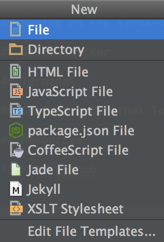
The last entry is to edit file templates, allowing to create new ones, ideal for Jekyll templates. Most Jekyll files consist of a header containing some metadata. For instance this post has:
---
layout: post
title: Using WebStorm to maintain a Jekyll site
status: draft
type: post
published: true
comments: true
---
I've created a file template so that I don't have to copy/paste this each time:
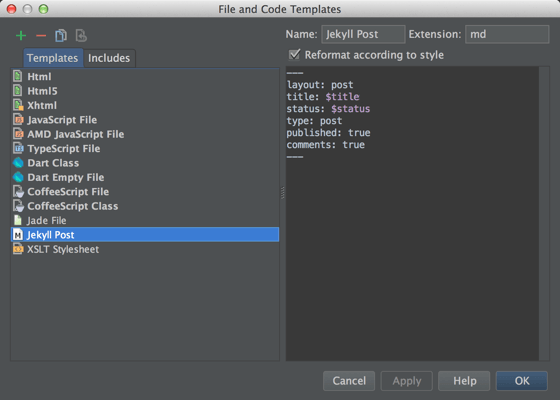
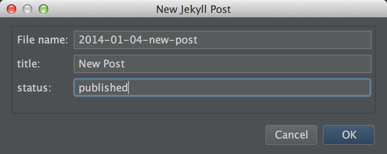
Now when creating a file, I'm prompted with a dialog to fill out the information:
For more information on variables and possibilities see File Variables
Save on keystrokes
Much like file templates, you can also save on keystrokes when working with common constructs with Jekyll. Liquid, the templating engine requires certain syntax for variable substitutions and other functionality.
I've created a set of live templates with WebStorm to help me with this:
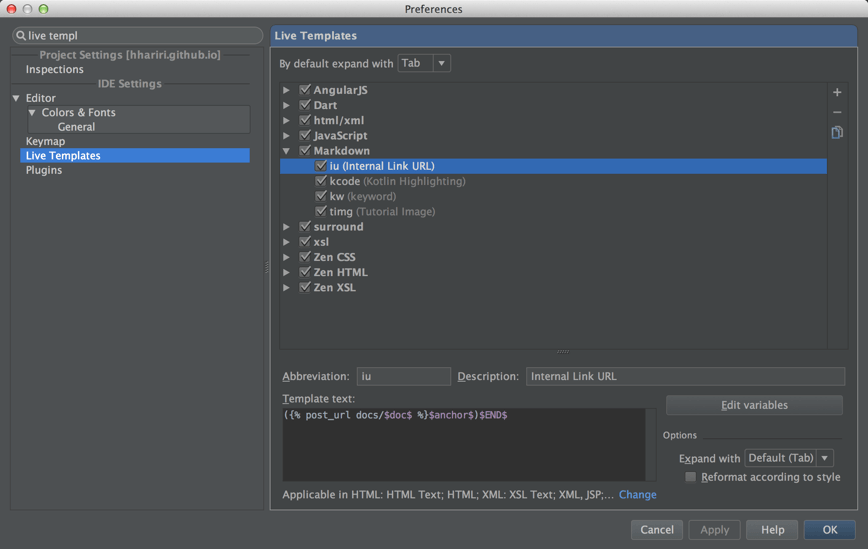
making things a little quicker. Now I can simply type for instance iu and get the template expanded for internal links, filling in the gaps. You can do the same for emphasis, bold, keywords, etc.
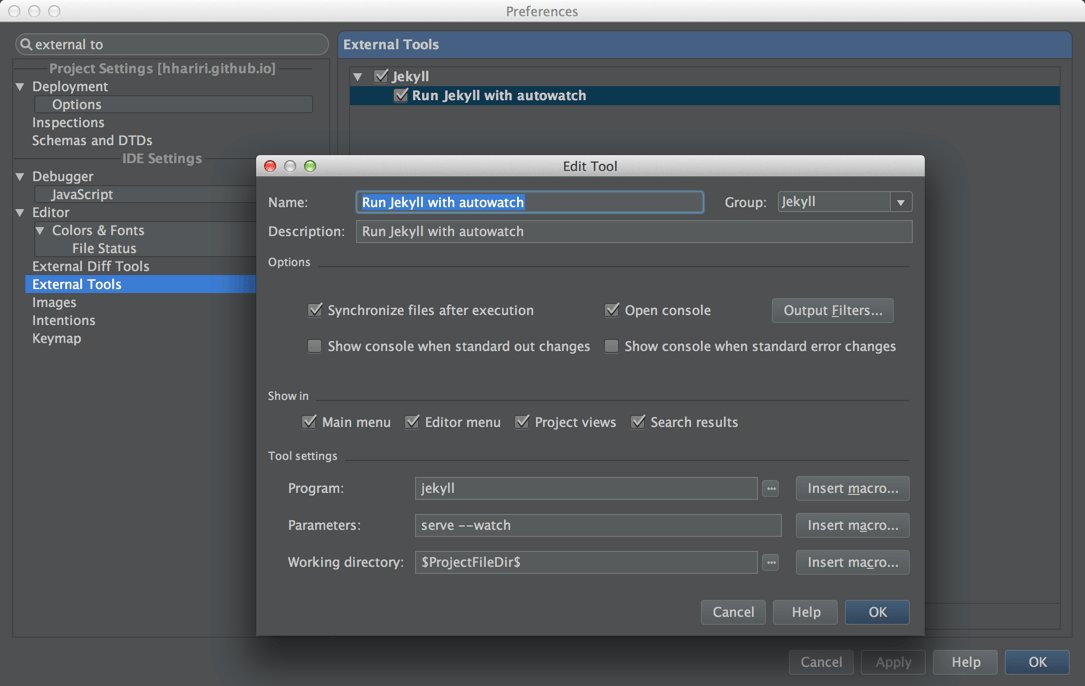
Configure jekyll serve as an external tool
WebStorm comes with built-in support for a terminal, so you don't need to switch applications to run shell commands. This means that you could just open up the terminal and run
jekyll serve --watch
from there. But you can also configure Jekyll as an external tool and have it available from the menu option
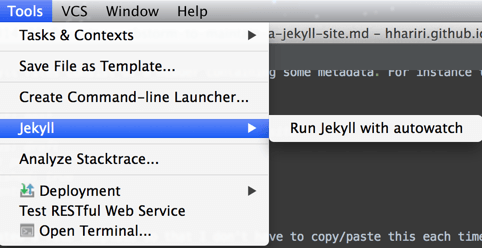
You can configure it via Preferences, External Tools
Publish from inside WebStorm
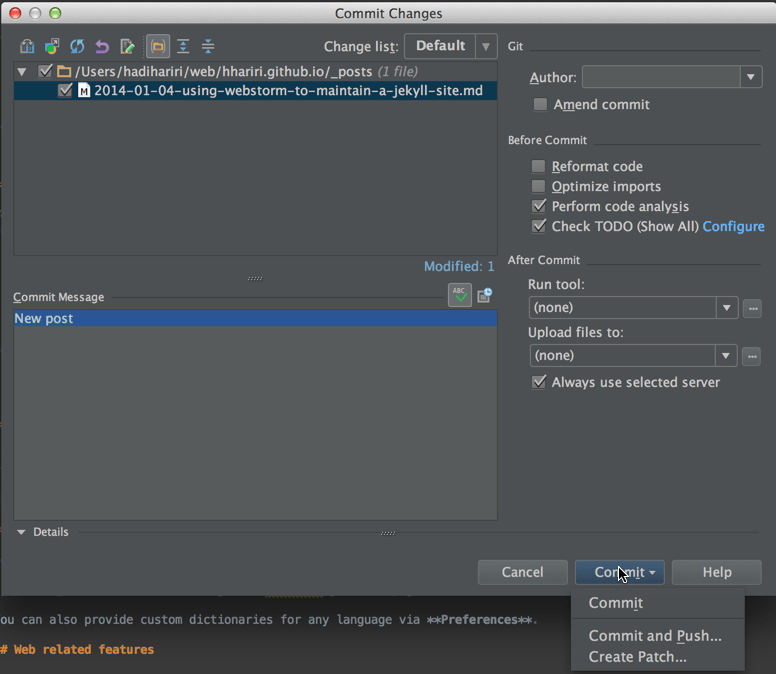
If you enable VCS support inside WebStorm, it will automatically detect new files being added and will prompt you to add it to your Git Repository. Much the same way it detects modified and deleted files. Once you're ready to publish you can do so easily using VCS | Commit File, which allows you to either commit or commit and push
Spell Checker
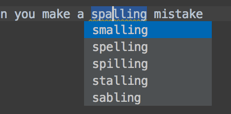
Not much to configure there. It's built in and works. Just hit Alt+Enter when you make a spelling mistake
You can also provide custom dictionaries for any language via Preferences.